前置准备
花钱的准备
首先,弄了一个云主机(VPS,或者服务器,不是虚拟主机)
这里我用的天霆网络破烂小主机(无广)
然后,我去腾讯云搞了个域名shiory.fun(无广)
折腾的准备
云主机系统为Ubuntu 22.04LTS
将域名解析到云主机ip(可能会单开一篇,大概率咕了)
注:该记录中云服务器均用root用户操作,如为其他账户请自行加sudo
安装nginx
apt install nginx防火墙放行nginx
ufw allow 'Nginx Full'此时nginx应该已经正常运行了,使用命令查看nginx运行情况
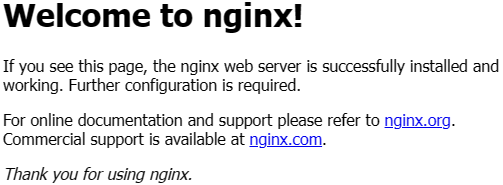
systemctl status nginx如果一切顺利,此时用浏览器访问服务器ip或者绑定好的域名会出现如下提示
安装Docker和Docker compose
参考:Install Docker Engine on Ubuntu | Docker Docs
设置 Docker 的 apt 仓库(系统自带的apt仓库中的Docker版本可能较老)
sudo apt-get update
sudo apt-get install ca-certificates curl
sudo install -m 0755 -d /etc/apt/keyrings
sudo curl -fsSL https://download.docker.com/linux/ubuntu/gpg -o /etc/apt/keyrings/docker.asc
sudo chmod a+r /etc/apt/keyrings/docker.asc

echo \
  "deb [arch=$(dpkg --print-architecture) signed-by=/etc/apt/keyrings/docker.asc] https://download.docker.com/linux/ubuntu \
  $(. /etc/os-release && echo "$VERSION_CODENAME") stable" | \
  sudo tee /etc/apt/sources.list.d/docker.list > /dev/null
sudo apt-get update
从刚才添加的apt仓库安装Docker和Docker compose
apt-get install docker-ce docker-ce-cli containerd.io docker-buildx-plugin docker-compose-plugin验证Docker和Docker compose是否正确安装(可选)
$ docker run hello-world

Unable to find image 'hello-world:latest' locally
latest: Pulling from library/hello-world
c1ec31eb5944: Pull complete
Digest: sha256:53641cd209a4fecfc68e21a99871ce8c6920b2e7502df0a20671c6fccc73a7c6
Status: Downloaded newer image for hello-world:latest
Hello from Docker!
This message shows that your installation appears to be working correctly.

$ docker compose version		#从Docker 1.27.0版本开始,通过 docker compose(没有连字符)来使用而不是旧的 docker-compose

Docker Compose version v2.25.0
使用Docker Compose 部署halo
参考:使用 Docker Compose 部署 | Halo 文档
创建Docker容器目录
mkdir ~/halo && cd ~/halo创建docker-compose.yaml文件
vim docker-compose.yaml这里使用Halo文档给出的 创建 Halo + PostgreSQL 的实例 模板,注意注释部分进行修改
version: "3"

services:
  halo:
    image: halohub/halo:2.14
    restart: on-failure:3
    depends_on:
      halodb:
        condition: service_healthy
    networks:
      halo_network:
    volumes:
      - ./halo2:/root/.halo2
    ports:
      - "8090:8090"
    healthcheck:
      test: ["CMD", "curl", "-f", "http://localhost:8090/actuator/health/readiness"]
      interval: 30s
      timeout: 5s
      retries: 5
      start_period: 30s
    command:
      - --spring.r2dbc.url=r2dbc:pool:postgresql://halodb/halo
      - --spring.r2dbc.username=halo
      # PostgreSQL 的密码,请保证与下方 POSTGRES_PASSWORD 的变量值一致。
      - --spring.r2dbc.password=openpostgresql
      - --spring.sql.init.platform=postgresql
      # 外部访问地址,请根据实际需要修改
      - --halo.external-url=http://localhost:8090/
  halodb:
    image: postgres:15.4
    restart: on-failure:3
    networks:
      halo_network:
    volumes:
      - ./db:/var/lib/postgresql/data
    healthcheck:
      test: [ "CMD", "pg_isready" ]
      interval: 10s
      timeout: 5s
      retries: 5
    environment:
      - POSTGRES_PASSWORD=openpostgresql
      - POSTGRES_USER=halo
      - POSTGRES_DB=halo
      - PGUSER=halo

networks:
  halo_network:
使用nginx反向代理halo
创建文件/etc/nginx/sites-available/yourdomain.com
vim /etc/nginx/sites-available/shiory.fun #此处shiory.fun修改为你自己的域名或IP地址按i进入输入模式,输入以下内容(不建议手输)
upstream halo {
  server 127.0.0.1:8090;
}
server {
  listen 80;
  listen [::]:80;
  server_name shiory.fun;		#此处shiory.fun修改为你自己的域名或IP地址
  client_max_body_size 1024m;
  location / {
    proxy_pass http://halo;
    proxy_set_header HOST $host;
    proxy_set_header X-Forwarded-Proto $scheme;
    proxy_set_header X-Real-IP $remote_addr;
    proxy_set_header X-Forwarded-For $proxy_add_x_forwarded_for;
  }
}
按:wq推出vim
启用服务器配置块文件,创建一个从文件到
sites-enabled目录的符号链接,这个目录将会在 Nginx 启动时被读取
ln -s /etc/nginx/sites-available/shiory.fun /etc/nginx/sites-enabled重启nginx
systemctl restart nginx启动 Halo 服务
docker compose up -d #从Docker 1.27.0版本开始,通过 docker compose(没有连字符)来使用而不是旧的 docker-compose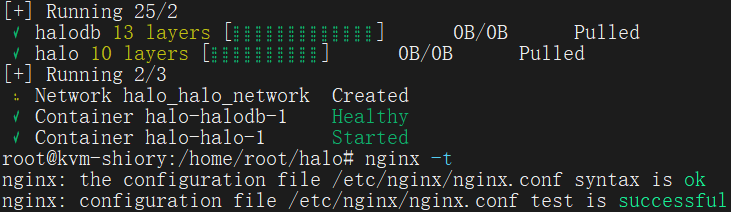
如果报错yaml: invalid leading UTF-8 octet
使用vim设置编码并保存
vim docker-compose.yml在vim中
:set fileencoding=utf-8
:wq
初始化halo
不出意外的话,此时已经成功部署并启动了halo系统,在首次访问网站的时候会自动跳转到初始化页面
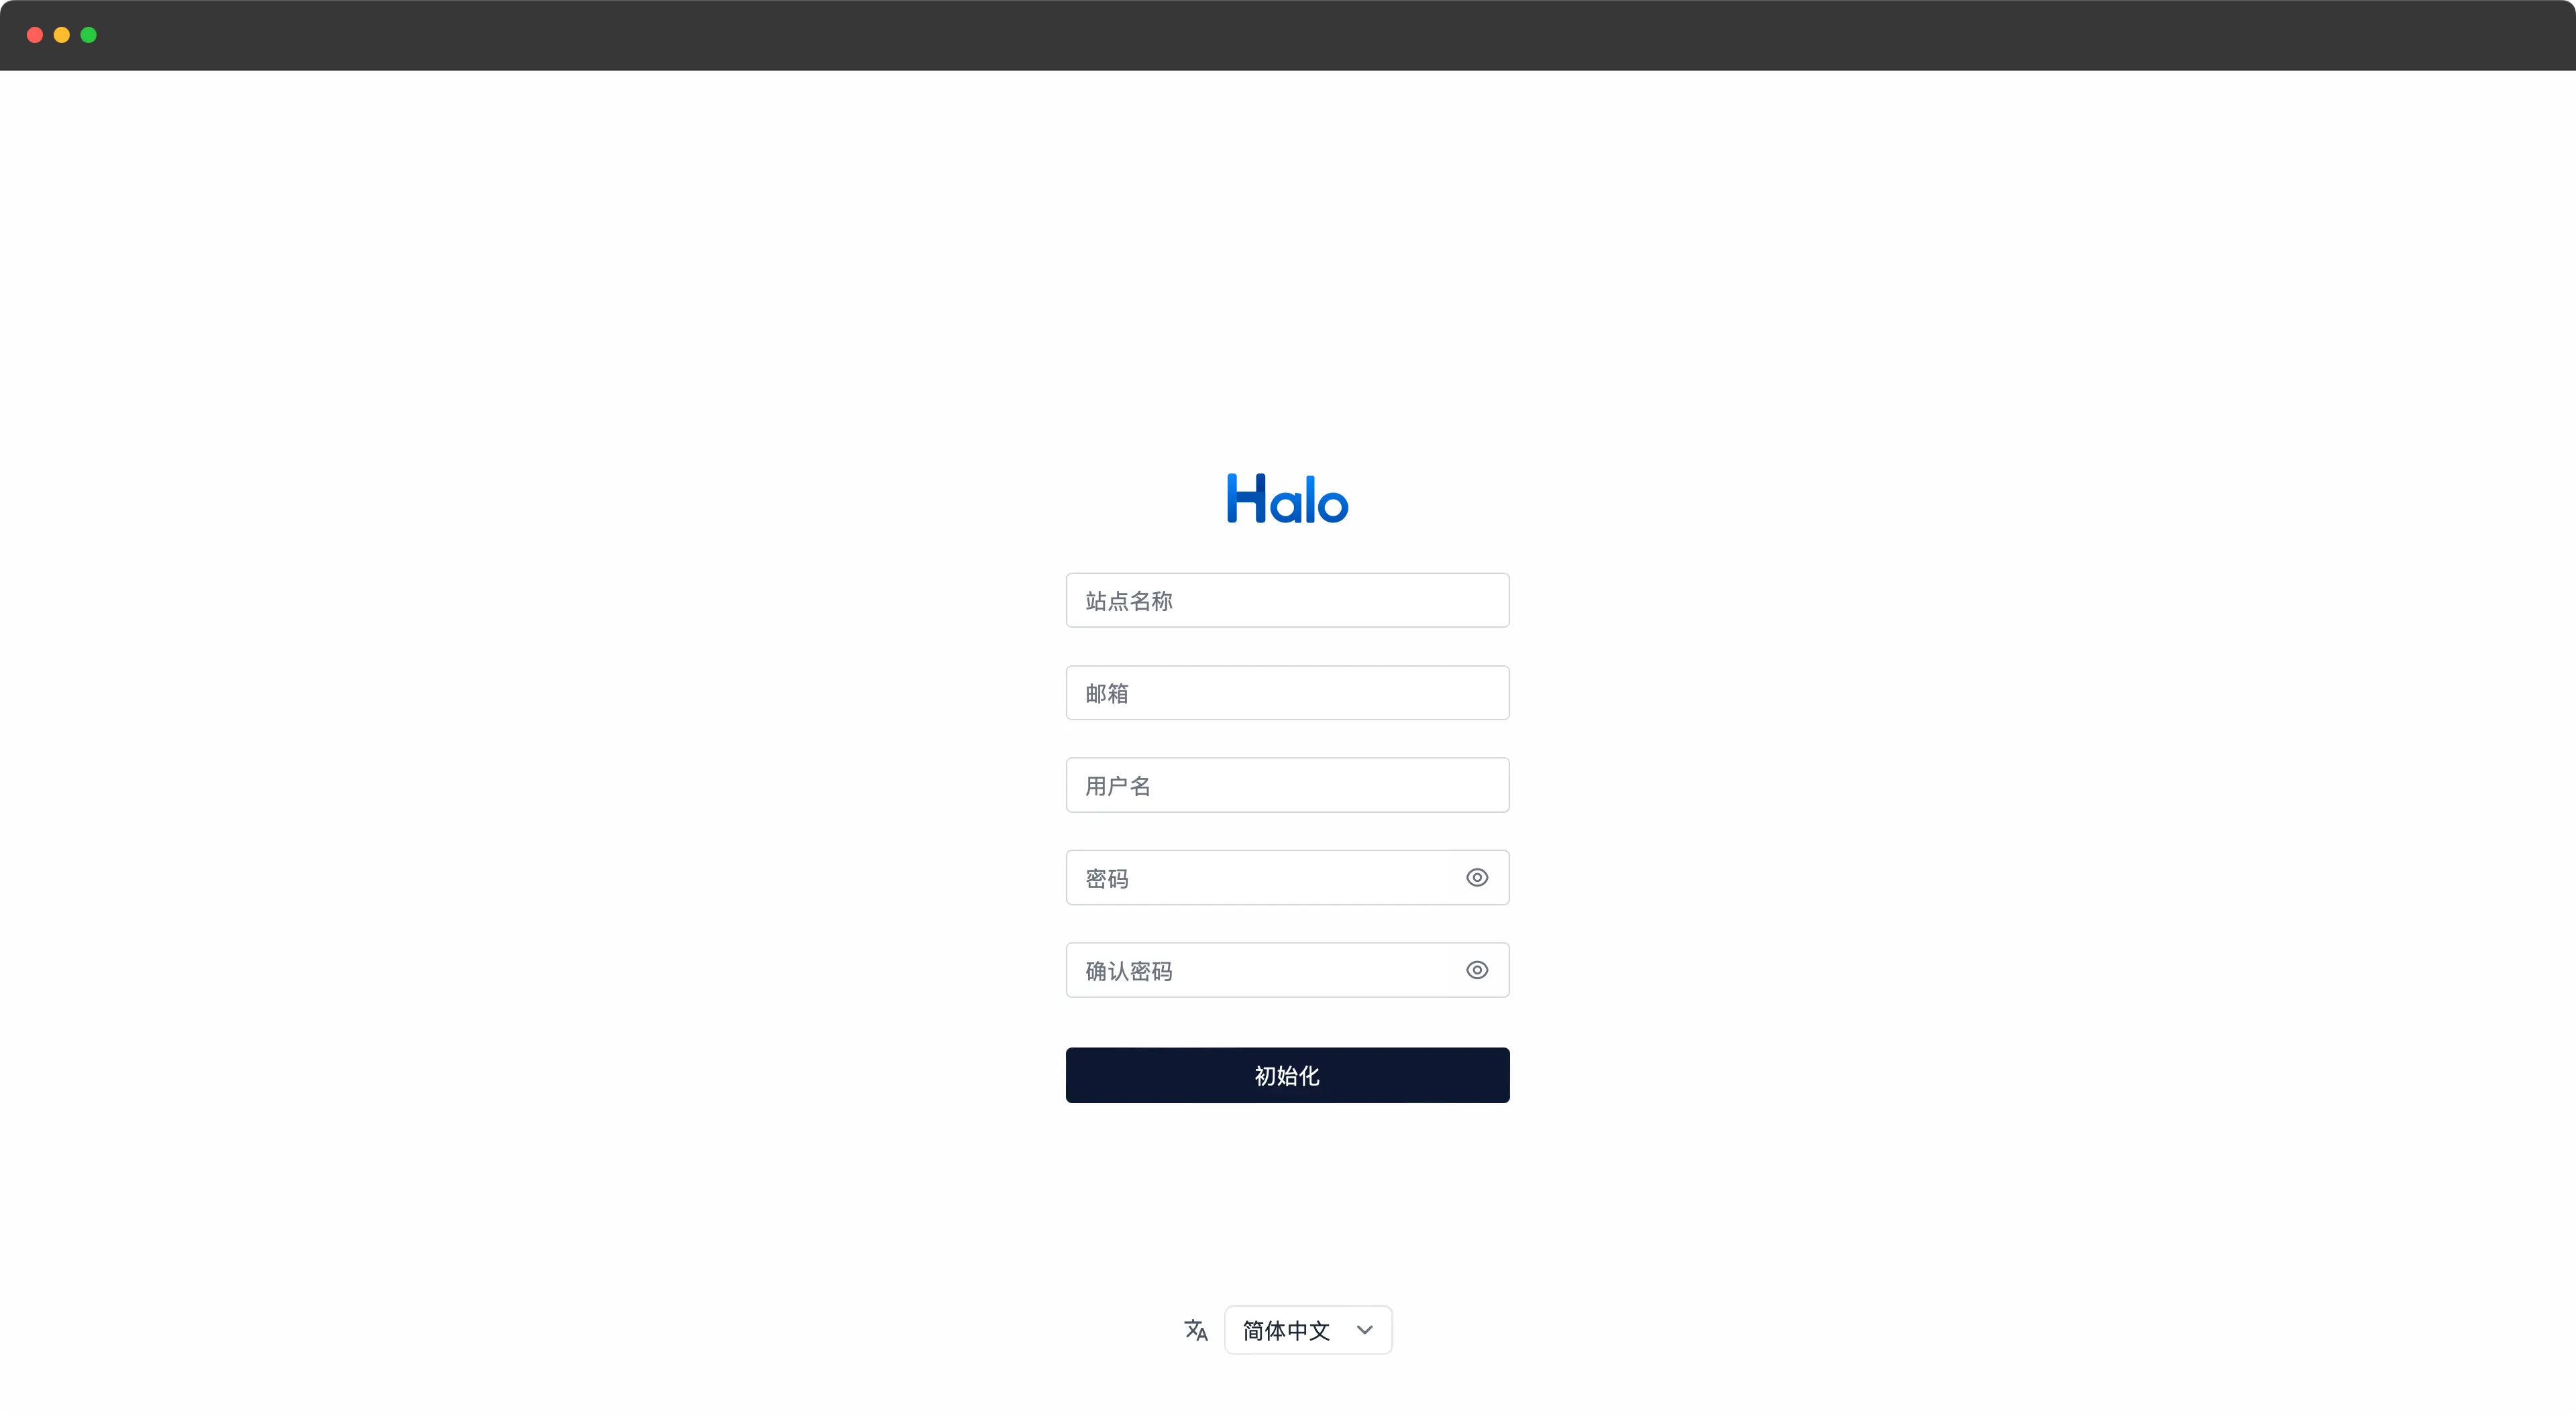
站点名称:网站的名称,将会显示在浏览器标签页上。例:Ryan Wang‘s Blog
邮箱:初始管理员的邮箱地址。例:[email protected] (Halo 开源团队首席)
用户名:初始管理员的用户名。例:admin
密码:初始管理员的密码。例:123456
确认密码:重复输入密码以验证是否匹配。例:123456
初始化完成后将会跳转到登录页面,输入刚才设置的用户名和密码即可登录。